How To Fix The Windows 10 Start Menu Critical Error
Are you experiencing a Windows "Critical Error" which warns you that your
Start Menu isn't working? This error often occurs after certain
security updates and can be very bothersome. Luckily, there is an easy
fix for this:
Updating. Have you updated your computer recently? This problem mainly occurs after an update, but it can also be a sign that you're missing one.
1. Start by pressing the Windows key + R to open the Run dialog. Then type 'cmd' and click Ok.
2. Once you've opened Command Prompt, type 'wuauclt /detectnow /updatenow' and press Enter.
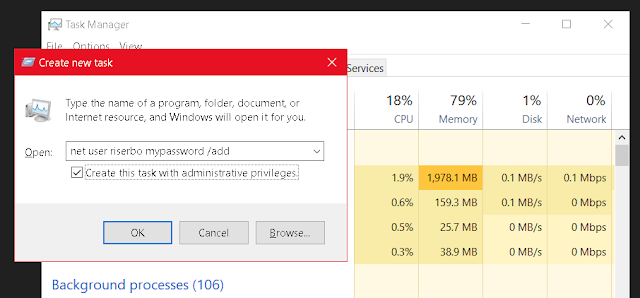
Creating a new Admin Account. If the problem persists after an update, you can try making an admin account on your computer. When you create a new user profile with an admin account, your Start Menu will typically begin working normally. This can be easily done through Task Manager:
1. Open Task Manager using the Ctrl + Shift + Esc shortcut or Ctrl + Alt + Delete -> Task Manager.
2. On Task Manager click File -> Run new task. Type 'net user [username] [password] /add'. Before clicking Ok, check the 'Create this task with administrative privileges' box.3. Log out of the current account and log into the brand new net user. The Start Menu should now be operating correctly.
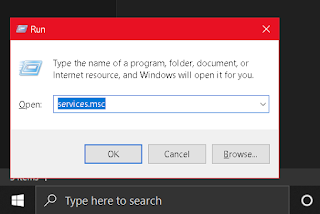
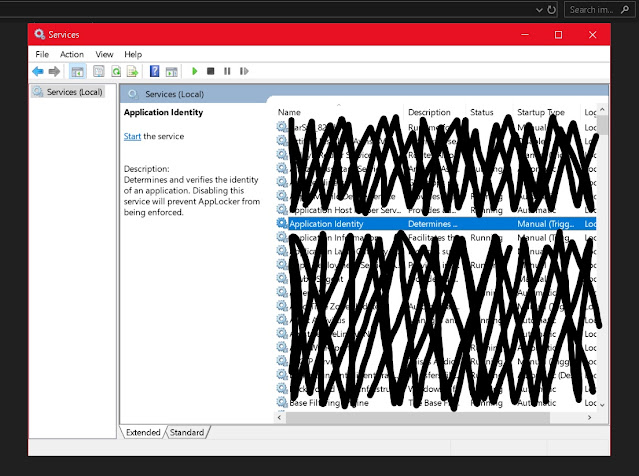
Restarting Application Identity Service. Since the Start Menu Critical Error could be connected to your Windows account, you can also try disconnecting it entirely from your computer's start-up process.
2. Double click on 'Application Identity'.
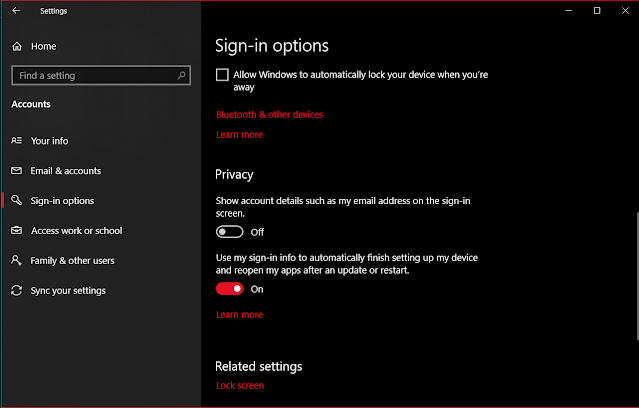
3. Set the Startup type to 'Automatic' and click 'Start'. Reboot.4. If you're still getting a "Critical Error" open your Settings -> Accounts -> Sign-in Options -> Privacy and set 'Use my sign-in info to automatically finish setting up my device and reopen my apps after an update or restart' to Off.
Start Menu Troubleshooter. If nothing else works, you can always give the Windows 10 Start Menu Troubleshooter a try. Microsoft made this service available so that these errors can be fixed automatically.


0 comments:
Post a Comment